Waterproofing balcony is not as difficult when you have a team of experts working with you. Homeowners in Houston reported an average $10,000 worth water damage each year between 2017-2021 because often times the leaks are found on second floor balconies and roofs which leads them into failure quickly if left unchecked for too long!
Luckily there are us--a group or Houston Waterproofing Contractors who are specializes just for these types situations so don't hesitate to give us call today!
If you have a balcony, you know that they can be great spaces for entertaining guests or just enjoying some fresh air. However, balconies are also susceptible to weather damage. Waterproofing a balcony is a great way to protect it from the elements and extend its lifespan.
Here are six simple steps to waterproof your balcony.
Why Balcony Leaks?
Why Balcony Leaks?
Why Balcony Leaks?
Inspect the balcony for any cracks or holes in the surface. These should be repaired before proceeding with any waterproofing measures. When starting waterproofing for balcony, the first step is to examine its condition. People typically skip this and start pouring water down their new luxury addition without knowing how much wear-and tear it will receive in time; as such they end up spending more money later on because there are leaks which could have been prevented by simply looking out for these things before hand!
If you notice efflorescence (which means rainwater seeping through) then chances are high that some form of leaking happening - either coming from beneath your floor boards or at the roof. Look for the cracks and molds, you might see cracks easily but to detect the molds, you need to look for the following symptoms;
· Look for damp smell.
· If molds are available in the excessive amount, you can clearly see the mold spores.
· Leakage from the roof.
· Breathing & other skin problems.
2. Clean the Balcony Surface
2. Clean the Balcony Surface
2. Clean the Balcony Surface
Next, thoroughly clean the balcony surface with a pressure washer or hose attachment. Be sure to remove any dirt, debris, or moss that may be present. Keep noted that having dirt on the balcony won’t let waterproofing membrane to bond properly with the surface. Dirt is the enemy of the balcony waterproofing!
So if you are planning to waterproof your balcony, ensure no dirt is left on the balcony surface. It won’t let the primer layer to adhere with the surface properly and ultimately you will get uneven surface and poor waterproofing solution.
3. Now Apply Waterproofing Sealant
3. Now Apply Waterproofing Sealant
3. Now Apply Waterproofing Sealant
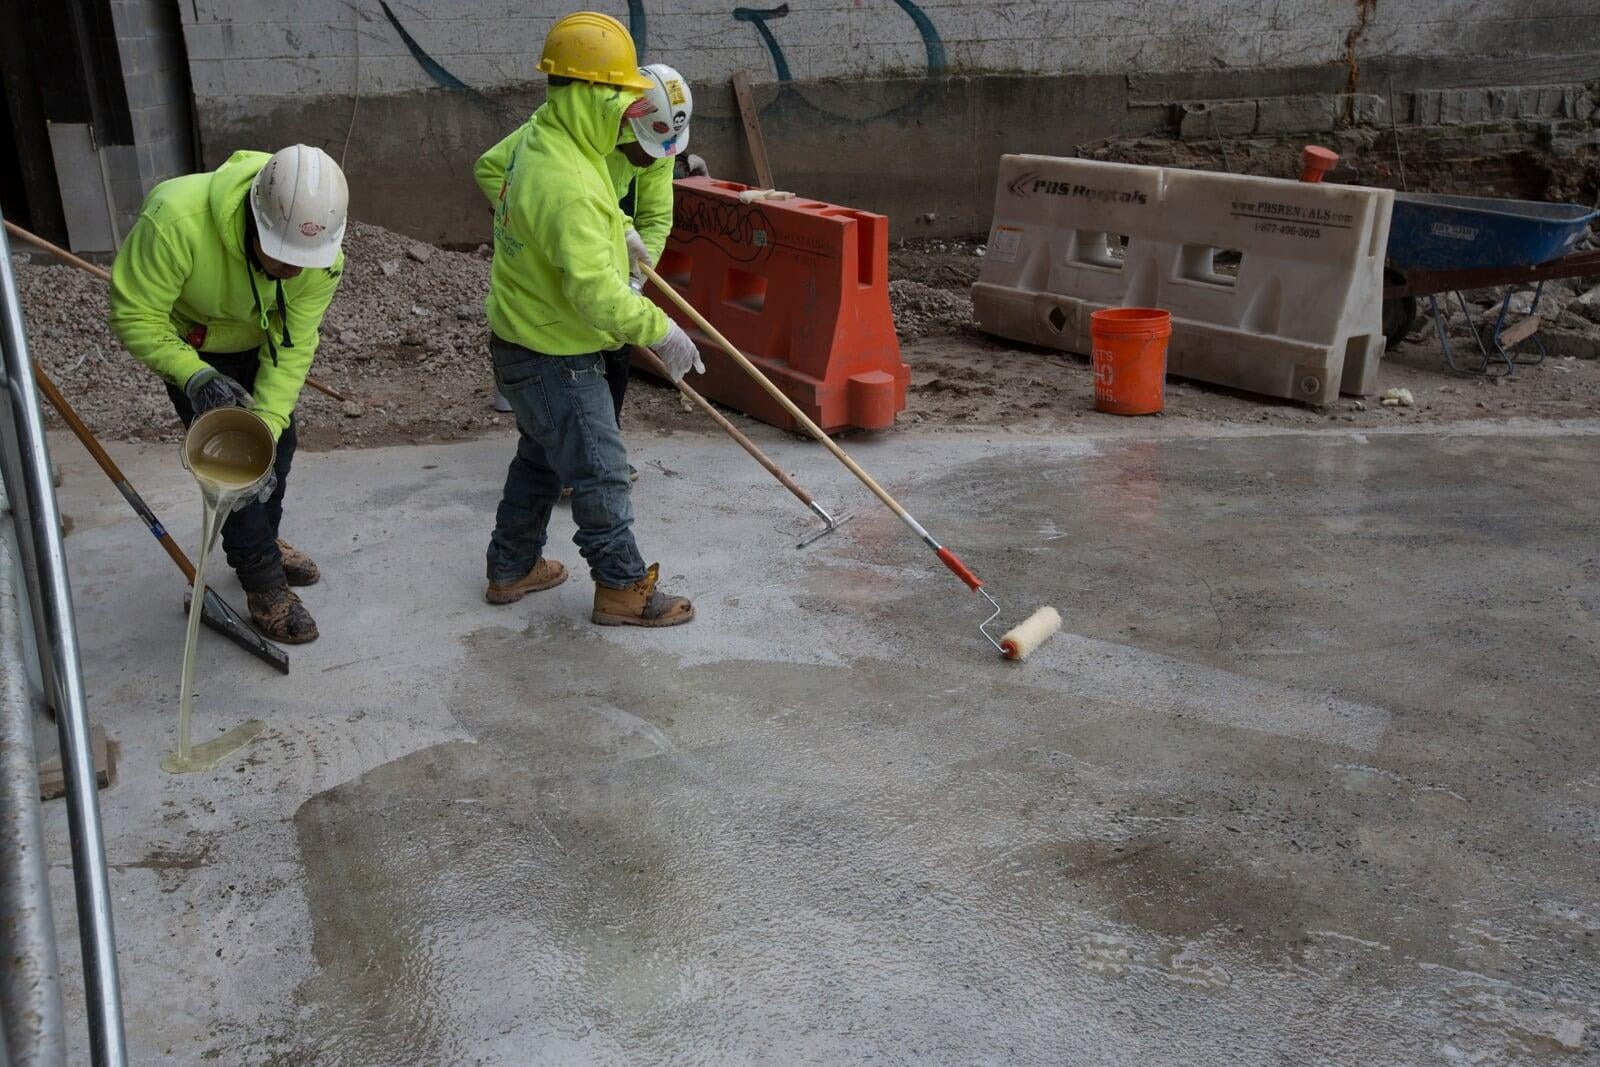
Once the surface is clean, apply layers of masonry sealer using a paint roller or brush. Start at the bottom and work your way up in overlapping strokes. Allow each layer of sealer to dry before applying the next one. Fill all the cracks, gaps, joints and tiles space with a mixture of Polyurethane sealant and concrete cement & leave the sealant for atleast 24 hours to dry.
You can apply a second layer of sealant after 6 hours. Next to this, apply a primer layer over the surface to make to durable and waterproof. You can re-apply a layer of primer coating only after 3 hours once the first layer gets dried.
4. Apply a Layer of Balcony Waterproofing Membrane
4. Apply a Layer of Balcony Waterproofing Membrane
4. Apply a Layer of Balcony Waterproofing Membrane
Applying Polyurethane sealant is not enough to waterproof balcony, you will need a final waterproofing membrane to watertight your balcony from the water damage.
You will need two types of waterproofing membrane to waterproof balcony flooring;
· A liquid waterproofing membrane
· PVC waterproofingmembrane
First, cut the PVC/Mesh waterproofing membrane into strips to be placed along joints. Apply a layer of liquid waterproofing membrane and place each strip across joints over this wet membrane. Apply a second layer of liquid membrane to seal them.
Similarly, do for all the cracks, joints and holes. For extra protection, you may also want to apply a layer of waterproofing membrane over the masonry sealer. This can be done with a paint roller or brush as well. Again, allow each layer to dry before applying the next one.
5. Finish with a Top Coat of Sealer
5. Finish with a Top Coat of Sealer
5. Finish with a Top Coat of Sealer
To complete the waterproofing process, apply a top coat of sealer over the entire surface. This will help protect against UV rays and further weather damage. While working on balcony flooring waterproof, don’t forget to waterproof joints and edges of drains. They are more vulnerable to the water damage.
Cover them with the mesh tape and then apply a top coat of the sealant. Don’t start walking over balcony flooring until it dries. Let the top coat of sealer dry completely before using the balcony again. Enjoy your newly protected space!
Waterproofing your balcony is a great way to extend its lifespan and keep it looking its best. By taking some simple precautions and following these five easy steps, you can keep your balcony in tip-top shape for years to come.